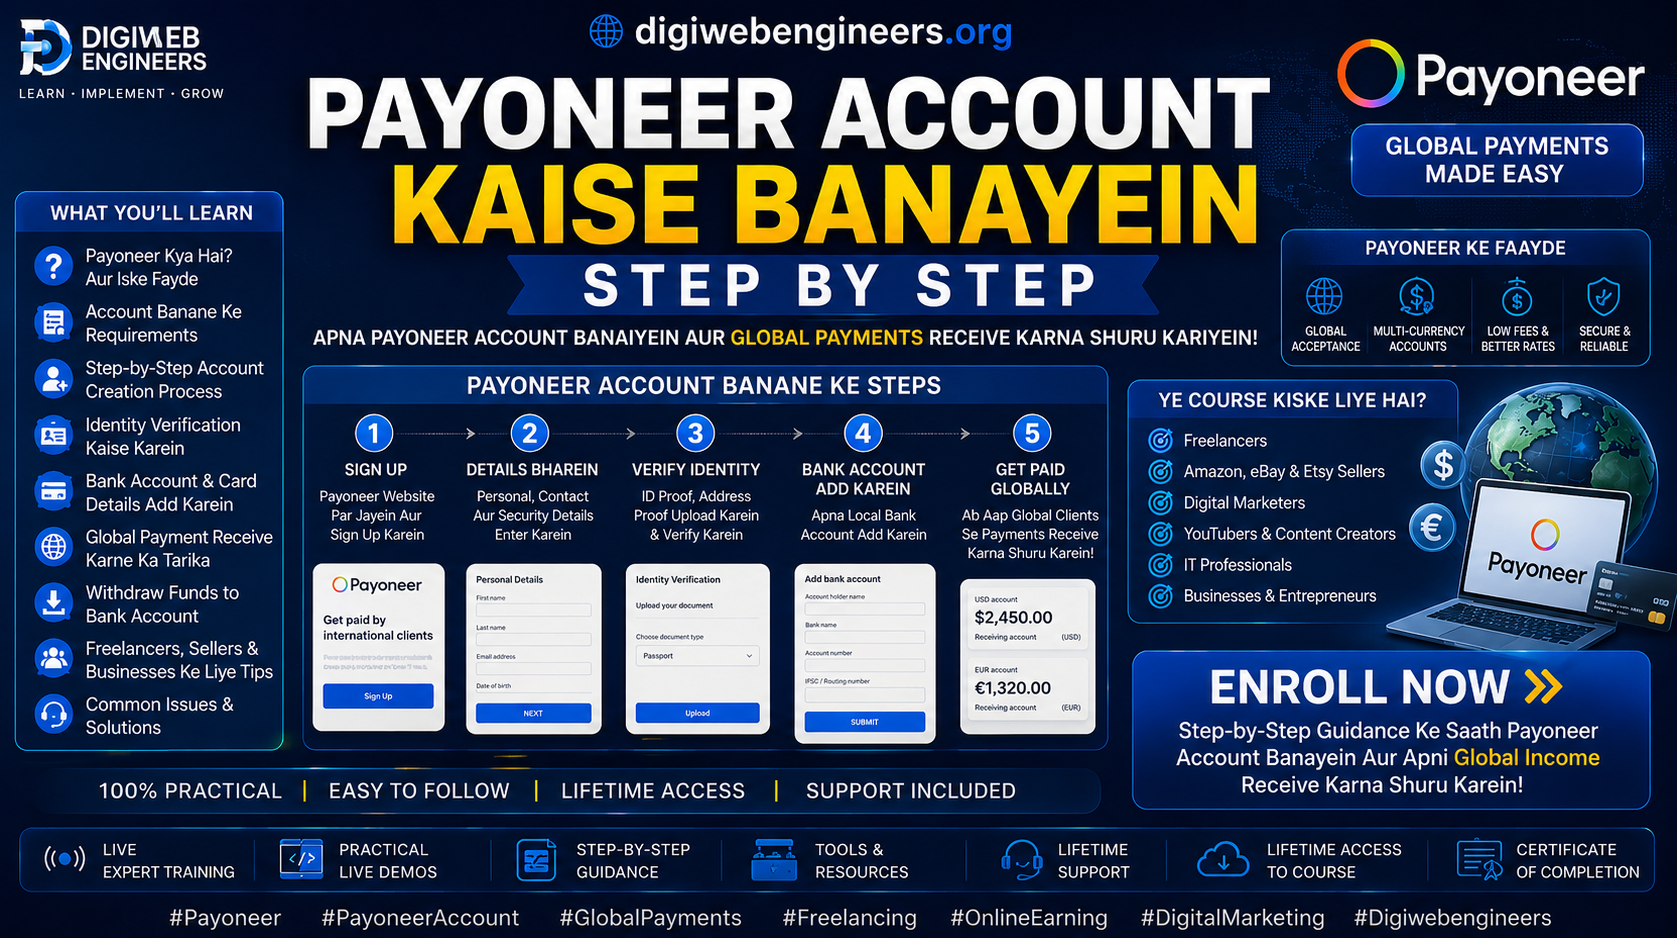
💳 Payoneer Account Setup — Step by Step
🎯 What Is Payoneer?
- Platform for receiving international payments
- For freelancers, agencies, and sellers
- It is used for payments on Google Ads, Facebook Ads, and Reddit Ads.
- Available in over 150 countries
- You can withdraw to an Indian bank account.
📦 Step 1: Payoneer Official Website
- Go to Payoneer.com
- Click the “Register” button.
- Select account type:
- ✅ Individual — freelancer/personal
- ✅ Company — For business
📦 Step 2: Fill in Your Personal Details
- First Name & Last Name — exactly as per PAN card
- Email Address — Fill in business email
- Date of Birth — Enter the correct date.
- Address:
- Street address
- City — Agra
- State — Uttar Pradesh
- PIN Code
- Country — India
- Mobile Number — Enter an active number.
📦 Step 3:Login Details Set Karo
- Username Create
- Strong Password Set it:
- 8+ characters
- Capital + small letters
- Numbers + special characters
- Set in Security question
📦 Step 4: Identity Verification
- Documents required:
- 🪪 PAN Card — For Mandtory India
- 🪪 Aadhaar Card / Passport / Driving License
- Document Upload:
- Front side photo
- Back side photo
- It should be clear and readable.
- File size — Less than 5 MB
- Format — JPG / PNG / PDF
📦 Step 5: Add a Bank Account
- Bank Details:
- Account Holder Name —exactly as it is in the bank
- Bank Name
- Account Number
- IFSC Code
- Account Type — Savings / Current
- Important:
- The name on the Payoneer account and the bank account should match.
- Do not use an NRE account. Use a regular savings bank account instead.
📦 Step 6: Complete the Verification
- Email verification — Check your inbox.
- Verify your mobile OTP.
- KYC Approval:
- It takes 1-3 business days.
- You will receive an approval email.
- Sometimes, a video KYC is also required.
📦 Step 7: Activate the account.
- Receive your first payment — your account will be activated.
- Or else:
- You get a $25 bonus yourself from Payoneer through a referral.
- Request a payment from an existing user.
✅ Payoneer account successfully created — what to do next?
For Google Ads:
Google Ads → Billing → Payment Method → Add Payoneer Card — Use a Payoneer virtual card and add it to Google Ads.add karein
For withdrawal:
Payoneer Dashboard → Withdraw → To Bank Account → Indian bank select karo paise aa jaate hain in 2-5 business days
⚠️ Common Mistakes — Avoid it
| Mistake | Solution |
|---|
| Name mismatch — bank vs Payoneer | Exactly, name it same |
| Wrong IFSC code | Verify with bank passbook |
| Blurry document upload | Clear photo in natural light |
| Business email nahi daala | Use the business version of Gmail. |
| Wrong date of birth | Match it with the PAN card. |
💡 Payoneer Fees — Know this
| Transaction | Fee |
|---|
| Create Account | Free |
| Receiving payment | Free |
| Bank withdrawal | $1.50 per withdrawal |
| Currency conversion | 2% |
| Virtual card use | Free |
| Inactivity fee (12 months) | $29.95/year |
🎁 Bonus Tip — How to get $25 for free?
- Register through referral link
- Receive $1,000 first.
- You will automatically receive a $25 bonus in your account.